5 Adobe Lightroom Tips Every Photographer Needs to Know

It’s World Photography Day, as good a reason as any to get out there and carpe photum, or something like that. When you get home with a full SD card, that’s your time to make some coffee, settle in, and edit everything you captured. Adobe Lightroom is a trusted companion for millions of photographers worldwide because it’s a high-performance, feature-rich editing app that can make good photos great and great photos incredible.
To celebrate World Photography Day, we talked to Adobe Lightroom product manager Benjamin Warde, who shared his top five favorite tips and tricks. An accomplished drone photographer, Benjamin is enthusiastic about teaching his fellow users how to get the best results with the fast, modern version of Lightroom included with Adobe Creative Cloud across macOS, Windows, and mobile platforms. What we learned from him might surprise you and change your photo workflow for the better.
Tip 1: Zoom Through Batch Edits with AI
Traditionally, while editing with a mask, you’d need to change the mask every time the composition of your photo changed. That can become tedious every time an object moves in the frame or a person shifts ever so slightly between shots. It’s especially frustrating since it’s so simple to apply other types of batch edits by copying and pasting settings.
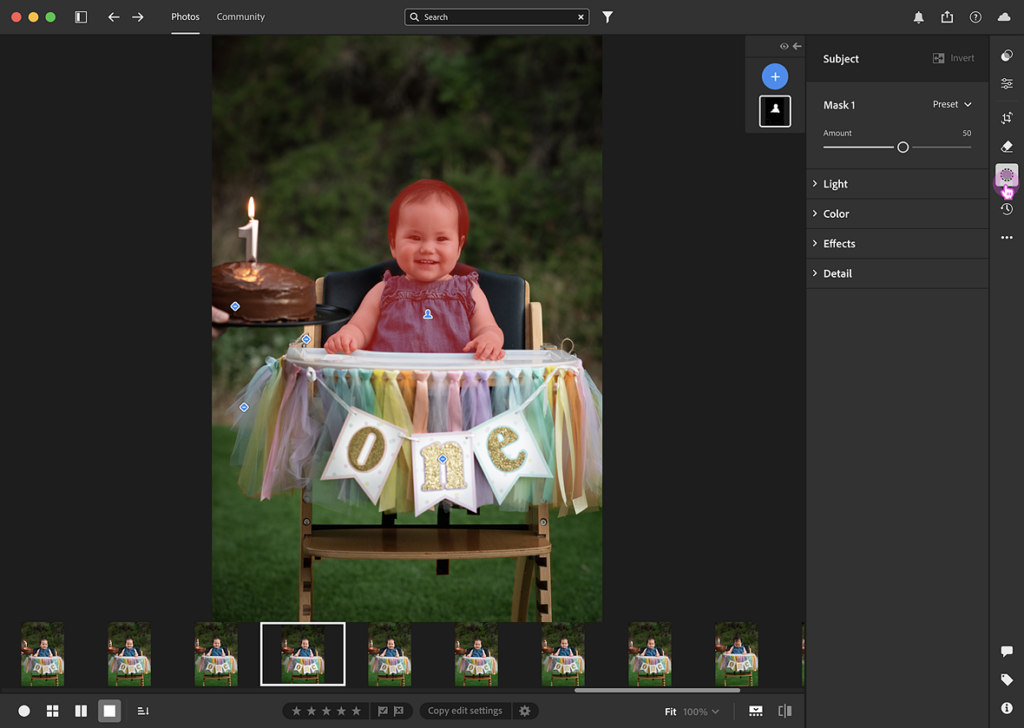
With Lightroom’s new, robust AI subject detection, you can finally copy and paste all your settings, whether they’re levels, contrast, or a mask. Anything Adobe Lightroom can detect and mask, it can do so across every shot you’re trying to edit, going in and finding the subject, creating the mask, and applying edits all in one go.
Did you know that Lightroom’s new Denoise AI feature can also be applied to multiple photos simultaneously? Select all the images you want to apply noise reduction to and go to the “Enhance” option in the Photo menu.
Tip 2: Travel Through Time with Versions
Since basically forever, Adobe apps have had a history feature of some kind, letting the user tweak or undo past edits with precision. Today, Lightroom has Versions, which is like a history on steroids.
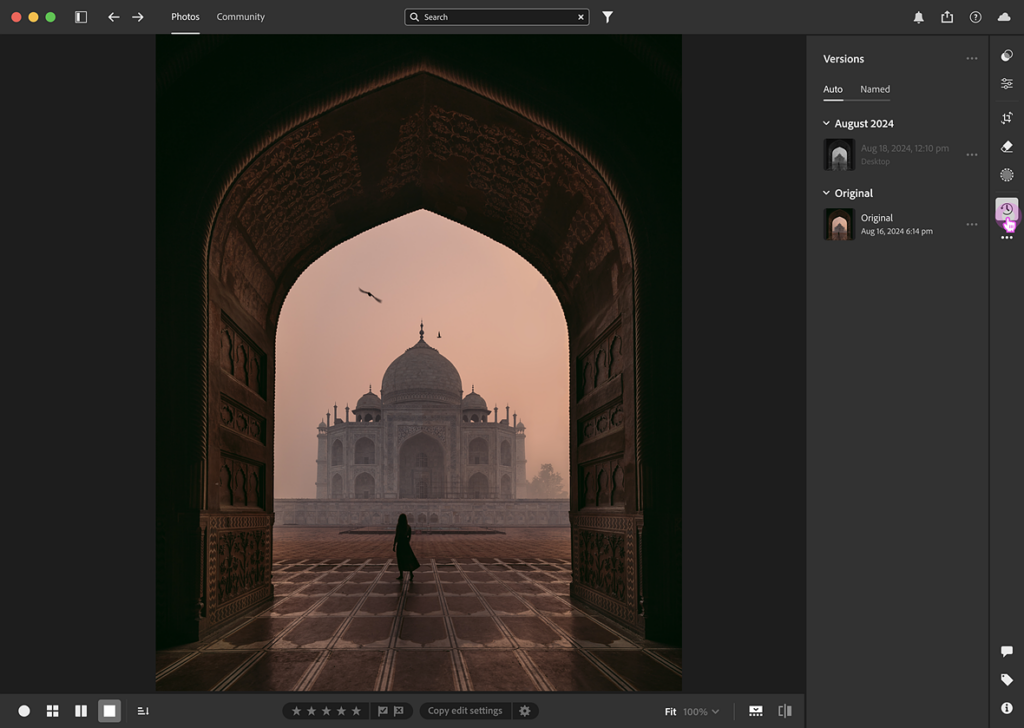
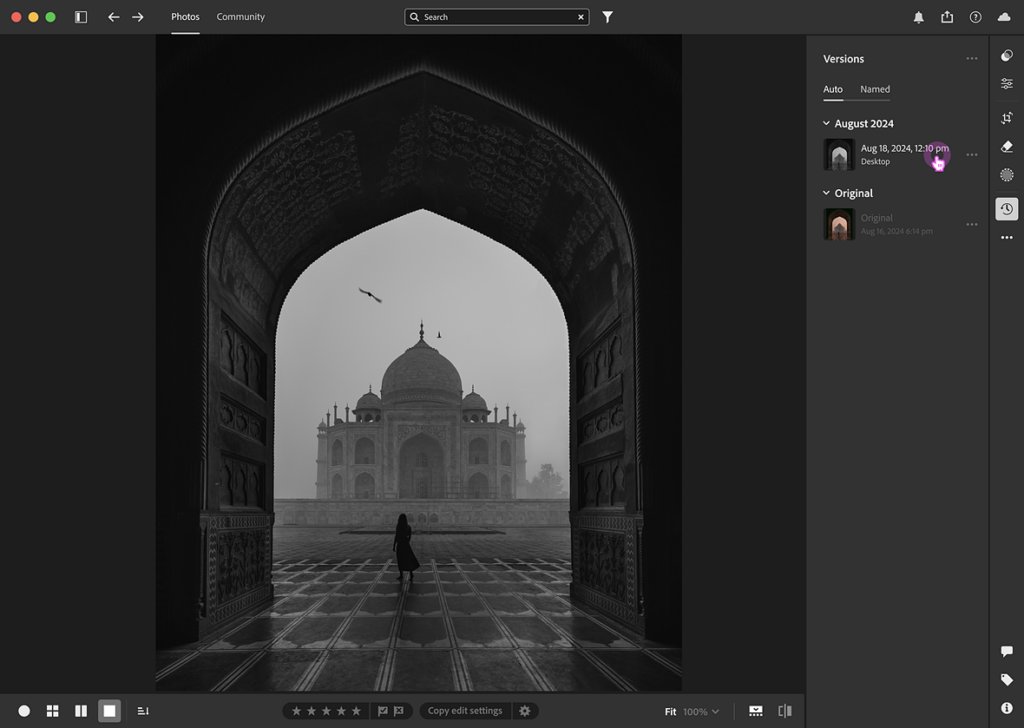
Not only are edits saved automatically as you work, but you can also create your own custom Named Edits associated with the image. This way, you can do radically different versions of the same image without duplicating the file in your library. By going to the contextual menu in Named Edits, you can export all versions of the image you’ve created at once.
Tip 3: Get an A+ in Geometry with Guided Uprights
Lightroom’s underappreciated geometry tools can help take a distorted, tilted photo and restore a sense of balance. With the Guided Uprights feature, it’s as simple as drawing with your mouse or pen on which horizontal and vertical lines need to be straightened, and Lightroom does the rest. And don’t forget to hit the “Constrain Crop” button to eliminate any blank areas introduced into the image by the process.
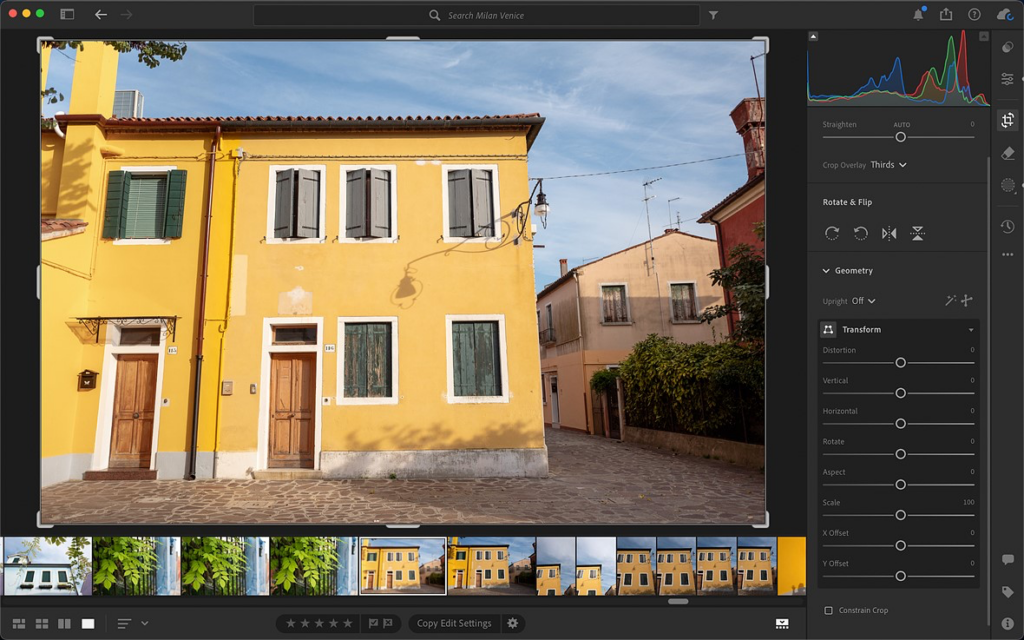
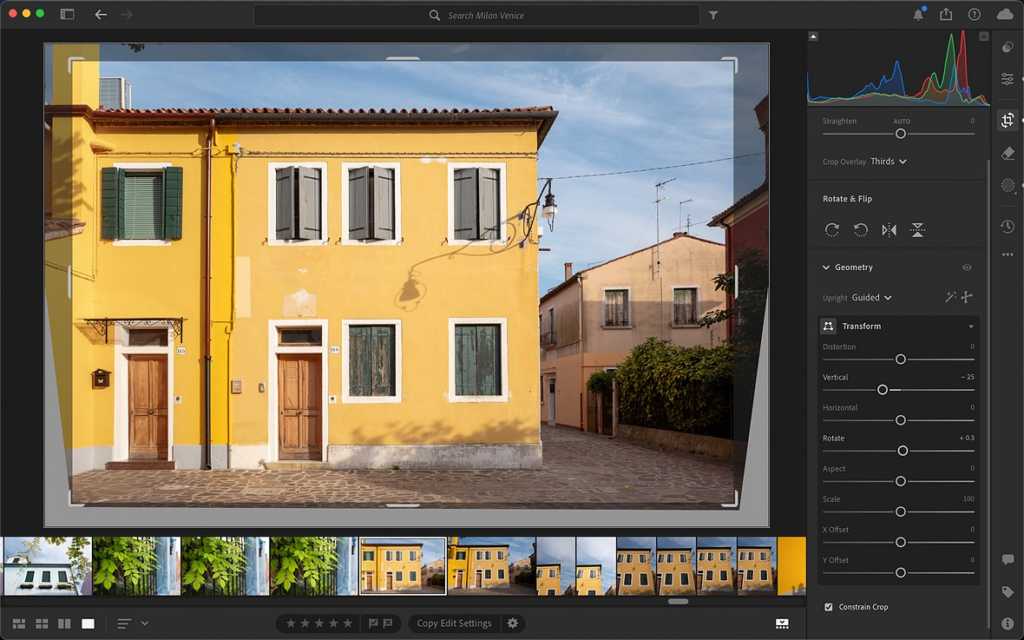
Having trouble finding the Geometry Tools? These helpful tools were previously stashed with the other standard editing tools, but you’ll find that more recent versions of Lightroom have moved them to where the crop tools are.
Tip 4: Use Targeted Adjustment on a Single Color
If you’ve used Adobe Lightroom for any amount of time, you’ve probably used the Hue, Saturation, and Luminance tools to get the colors just right. But did you know there’s a super intuitive way of adjusting just a single color?
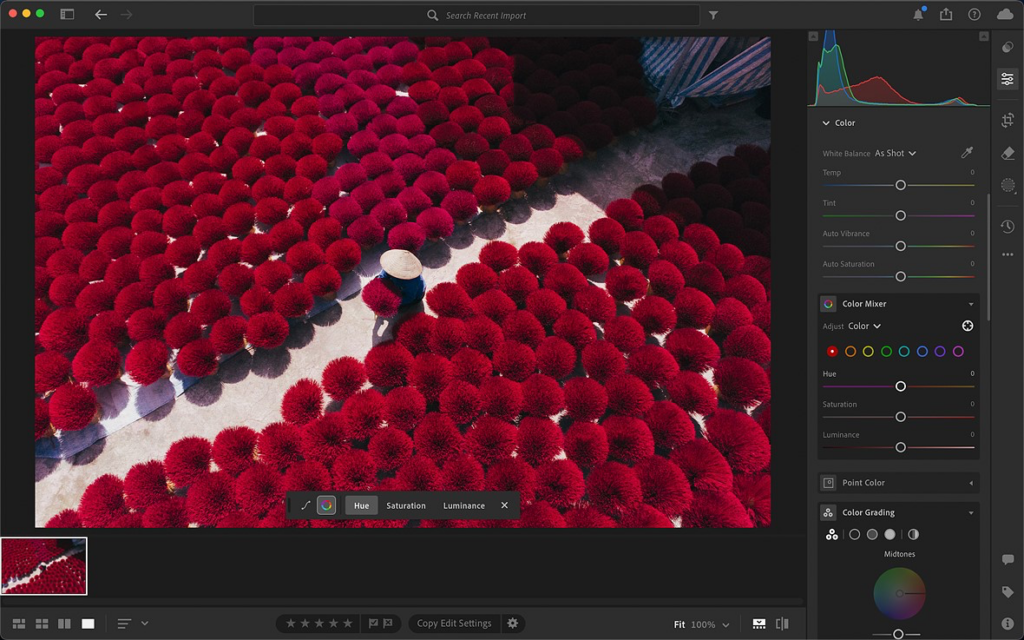
Using the Targeted Adjustment feature, you can click to select the color and drag left or right to brighten or darken the color you’ve chosen instantly. Not only is this quick and straightforward, but it’s also a far more precise way to dial in the colors of your image than global adjustments or any of the preselected colors in the Color Mixer panel.
Tip 5: Remove Distractions with Ease
Since Adobe Lightroom has access to the cloud-powered Firefly generative AI system with the new Generative Remove feature, it’s super easy to retouch your photos. From dust specks to a pesky ex, Generative Remove can convincingly eliminate objects you’d rather not have cluttering your composition. This can let you declutter your images and draw attention to the main subject instead of distractions in the background.
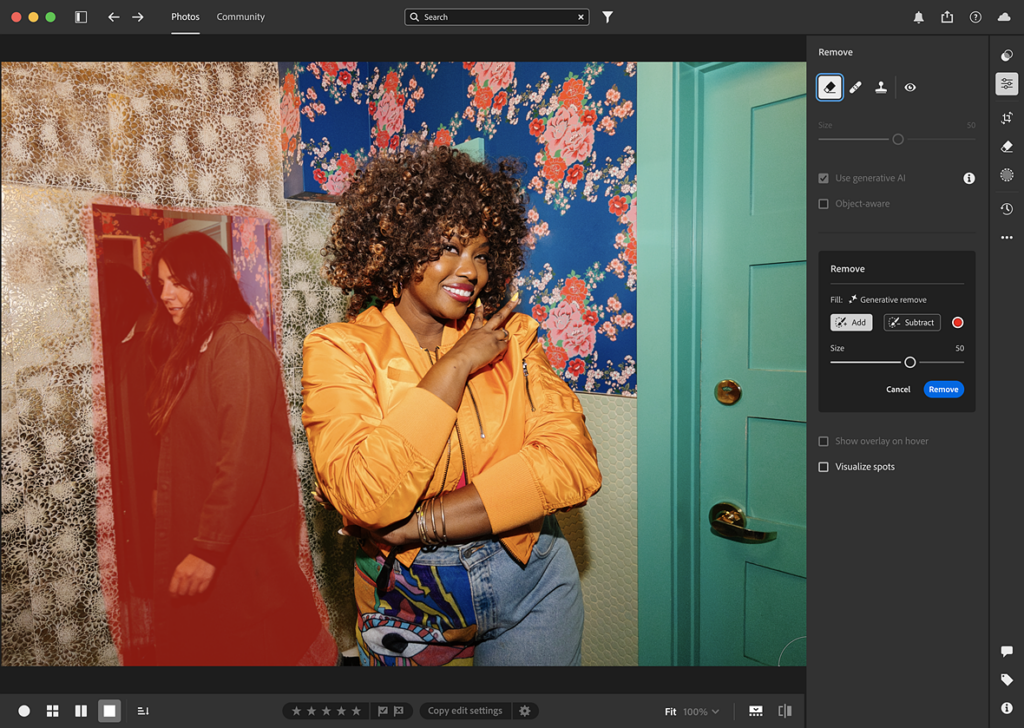
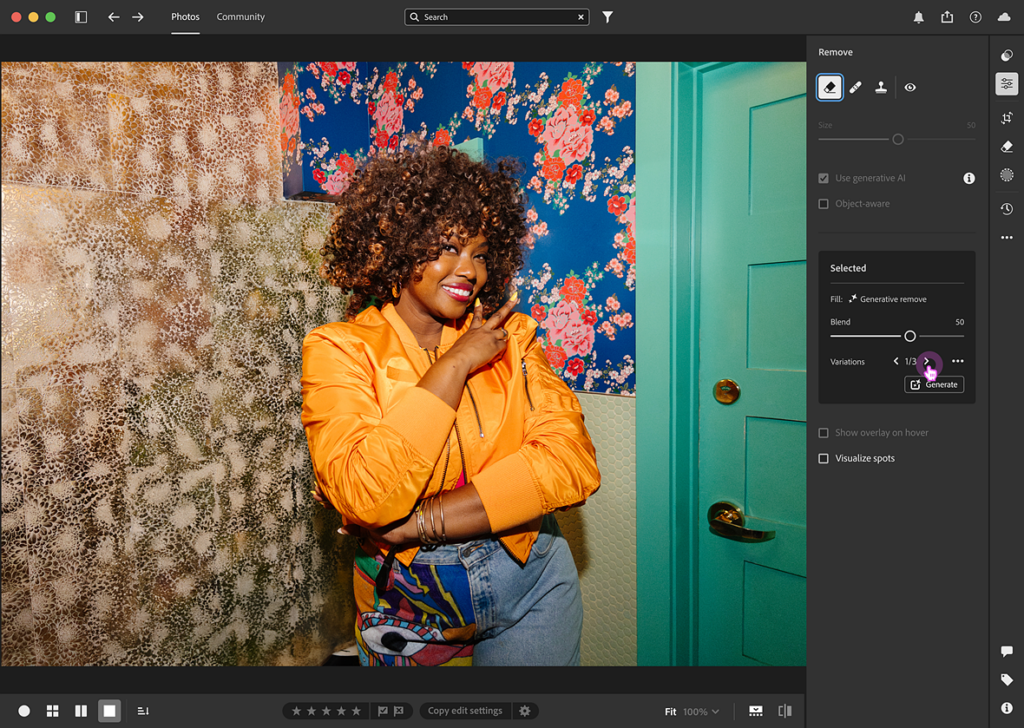
Control freaks, take note: if you’re dissatisfied with the results, you’re given three versions to choose from, so you’re not beholden to what the algorithm comes up with. If you’re planning on cropping the image to recompose it, use Firefly first to zap distractions, and then crop the photo down to size.
Leave a Reply